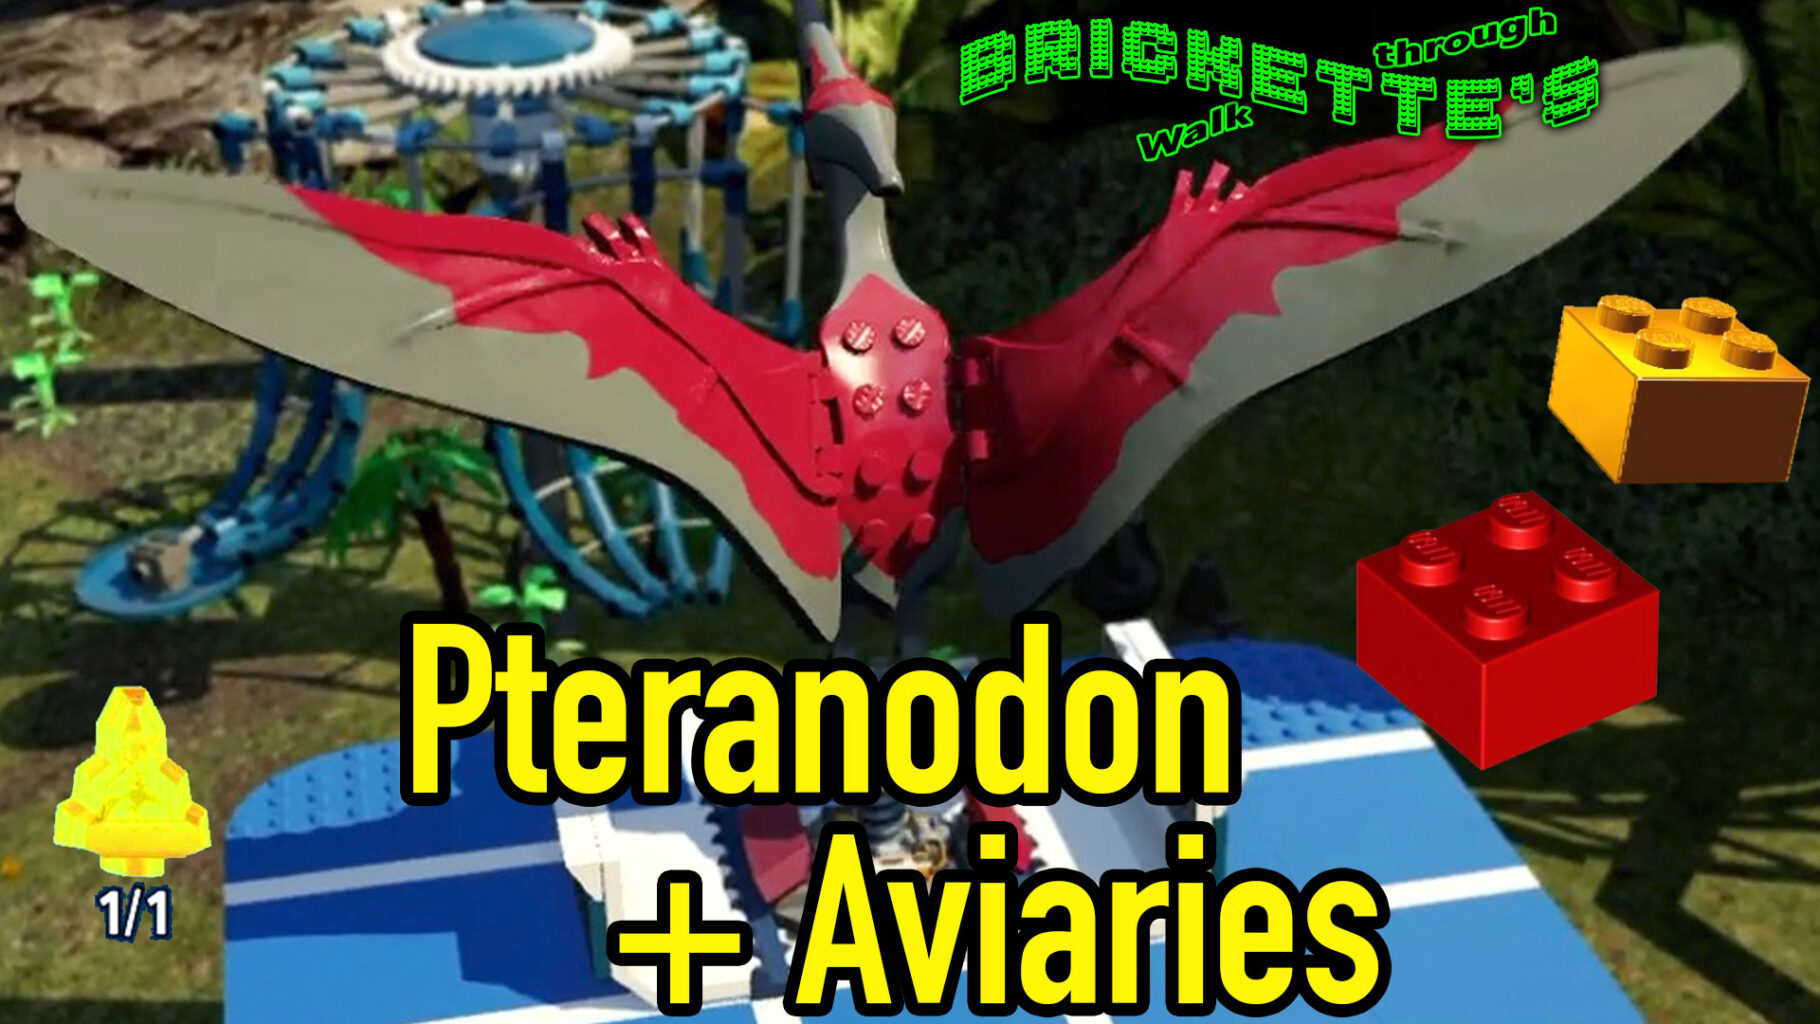
How to Unlock the Pteranodon (Bird Dinosaur) Amber and all Collectibles in the Aviaries in LEGO Jurassic World

Pteranodon and All Collectibles in the Aviaries in LEGO Jurassic World

How to Unlock the Pteranodon (Bird Dinosaur/Flying Reptile) Amber and 2 Red Bricks: Score x6 (Studs x6) Red Brick and the Invincibility Red Brick 

How to Find and Unlock All Collectibles in the Aviaries in LEGO Jurassic World: Race (Time Trial), Photograph, Worker in Peril, All Gold Bricks and Red Bricks in the Aviaries

Times of Unlocking the Pteranodon and All Collectables in the Aviaries:

00:11 – Unlocking the Pteranodon Amber

02:00 – Gold Brick #1 – Photograph

04:02 – Gold Brick #2 – Flying Time Trial with Pteranodon

05:46 – Gold Brick #3 – 3 groups of skeletons to smash up

06:08 – Gold Brick #4 – Gold Brick under small bridge/archway

07:04 – Gold Brick #5 Gold Brick – Eggs – Knock down 10 little dinos

08:00 – Gold Brick #6 Gold Brick in Cage

10:16 – Gold Brick #7 Gold Brick – Hang Gliding

11:10 – Going to Visitor Center to buy the Score x6 Red Brick

12:09 – Gold Brick #1 – Photograph

13:00 – Gold Brick #2 – Time Trial/Race with Bird

13:51 – Gold Brick #3 – Get this during the race

16:40 – Gold Brick #4 – Worker in Peril

17:47 – Gold Brick #5 – Gold Brick outside the Aviary

19:56 – Buying the Invincibility Red Brick

_________________________

     OTHER VIDEOS YOU MIGHT LIKE in LEGO Jurassic World:

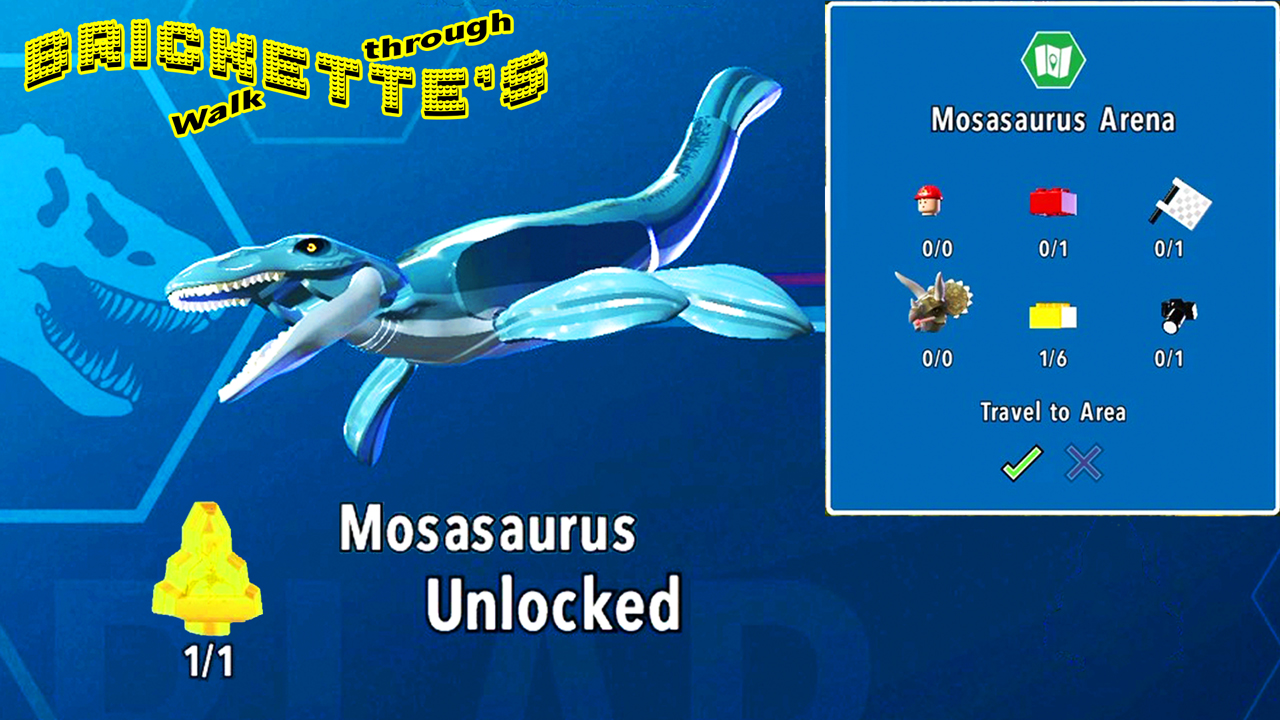
Mosasaurus Arena Collectibles in LEGO Jurassic World

Click to link to YouTube in new tab

Unlocking Mosasaurus and getting All Mosasaurus Arena Collectibles in “LEGO Jurassic World”:

Compy Mode Red Brick
Mosasaurus Race (Time Trial)
Mosasaurus Arena Photograph
Mosasaurus Arena Gold Bricks

TIMES of all COLLECTIBLES in the MOSASAURUS ARENA:

00:58 – Unlocking Mosasaurus
02:45 – Getting to Mosasaurus Arena
03:07 – Gold Brick #1 for building the skull
03:24 – 1st Pile of amber for Compy Mode Red Brick
03:42 – 2nd Pile of amber for Compy Mode Red Brick
04:06 – 3rd Pile of amber for Compy Mode Red Brick
04:21 – Race for gold brick #2
05:16 – Starfish for gold brick #3
05:22 – 2nd shell for gold brick #3
05:32 – 3rd shell for gold brick #3
05:41 – Gold Brick #4
05:47 – 1st Shark for Gold Brick #5
06:14 – 6th Shark for Gold Brick #5
06:27 – Photograph location for last Gold Brick (#6)